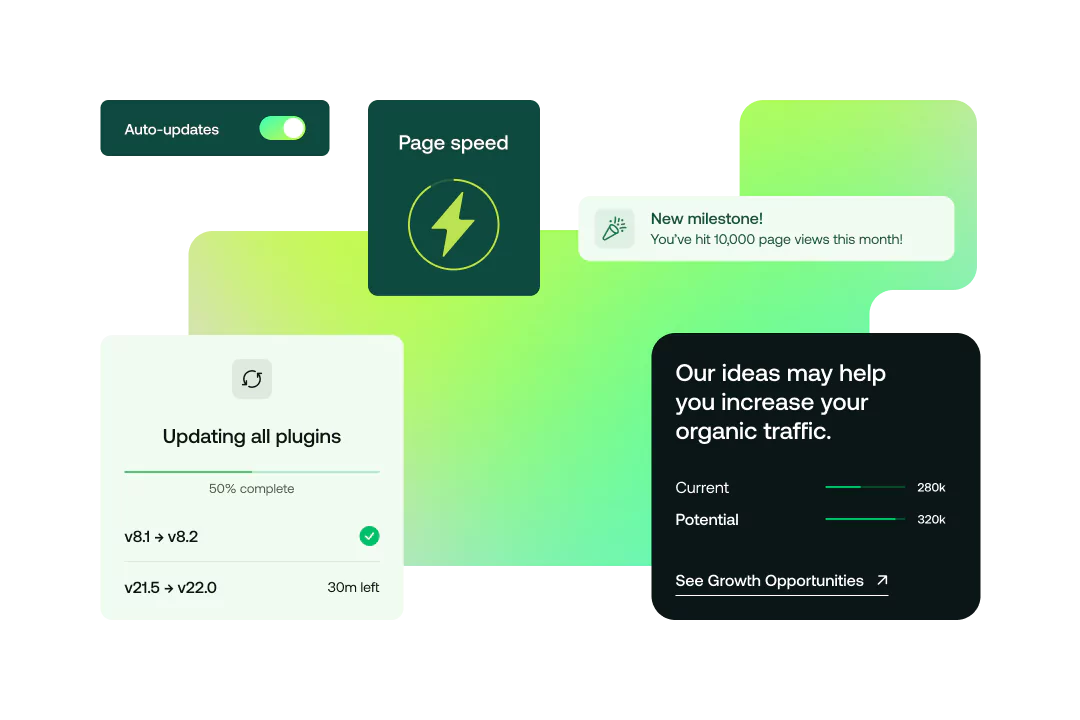
The premium hosting services you need to build a fast and successful website. Get started with web hosting in just minutes.
Save up to 87% now.
Starting at $1.99 / mo. Was $14.99 / mo.


The premium hosting services you need to build a fast and successful website. Get started with web hosting in just minutes.
Starting at $1.99 / mo. Was $14.99 / mo.

Whether you need a simple blog, want to highlight your business, sell products through an eCommerce website, or need an enterprise-level powerhouse for a custom application, we have a hosting service for you.
More customers are switching to hosting.com to take advantage of our ultra-fast hosting and high-quality support at competitive prices.

The most popular hosting available, our plans offer exceptional website performance and features at affordable price points.
Earn additional revenue or support your customers with easy-to-use reseller hosting plans.
Built with speed in mind, Turbo Hosting offers one of the fastest web hosting experiences available.
Optimized for performance and security, our hosting for WordPress plans include our exclusive control panel for maximum speed.
Our Email Hosting gives you a custom email domain to strengthen your brand and build trust for your organization.
With our cPanel Hosting, you get access to one of the most popular control panels in the industry.
Upgrade to dedicated resources for increased hosting performance, reliability, and flexibility all at a very competitive price.
Help your customers launch faster (and smarter) with our AI-powered WordPress site builder.

Not sure which hosting plan is right for you? Choose the solution that best describes your situation and we will help you narrow down the right hosting options.
Fast, secure, and reliable business hosting for site, email, and web apps that scale as you grow.
Get fast load times, secure payment processing, and easy integration with top eCommerce platforms.
Designed for web professionals who need flexibility, speed, and robust multi-site management tools.
Reliable hosting with easy WordPress integration and fast performance that scales with your audience.
Optimized performance, reliability, and support for the best Learning Management System software.
Ultra-fast and reliable website hosting services. Ask how you can save with our exclusive discount.
Our personal website hosting offers the perfect balance of performance, security, and affordability.
At hosting.com, we make WordPress easy and give you access to a variety of tools to get your website up and running in no time.


That means better SEO rankings, lower bounce rates & higher conversion rates!
Our knowledgeable and friendly support team is available 24/7/365 to help!
Already have a Website? Let us do the hard work for you and transfer it for free! Ask us how!
Give our high-speed hosting service a try completely risk-free!
Hosting.com is the host you can depend on with ultra-reliable servers!
I love hosting.com
Best internet support I have had since 1993 when internet first went public, I have been through several hosts with my media company and school and hosting.com support staff are knowledgeable, thorough, pleasant and treat clients with respect and understanding. I can't say enough. Keep up the great work. Thank you for saving my domains and email from hackers.
Hosting.com as an alternative to Hostgator
I had tons of troubles with Hostgator and decided to move 6 months earlier. Hosting.com (previously A2 Hosting) was a price match but I was also looking for cPanel and cPanel migration and a few other features. I am super happy with the speed of my websites and support desk seem to be A class. Hostgator was good only at the beginning, in the past two years everything has gone south bit by bit. I can provide screenshots of the mistakes and answers from Hostgator customer support for what I say here
This is my second Reseller program
This is my second Reseller program, along with maintaining a few individual sites for friends, and I'm again glad I've gone with hosting.com (formerly A2). I've had a few hiccups on my end but the important thing, your people have been incredibly helpful. Timely and helpful communication. Issues can always pop-up of course, but it's how well people work to resolve them that matters to me.

Our hosting.com Tech Team is available 24/7 to help you understand which plan will work for your unique needs!